A Surprisingly Annoying Amiga 3000
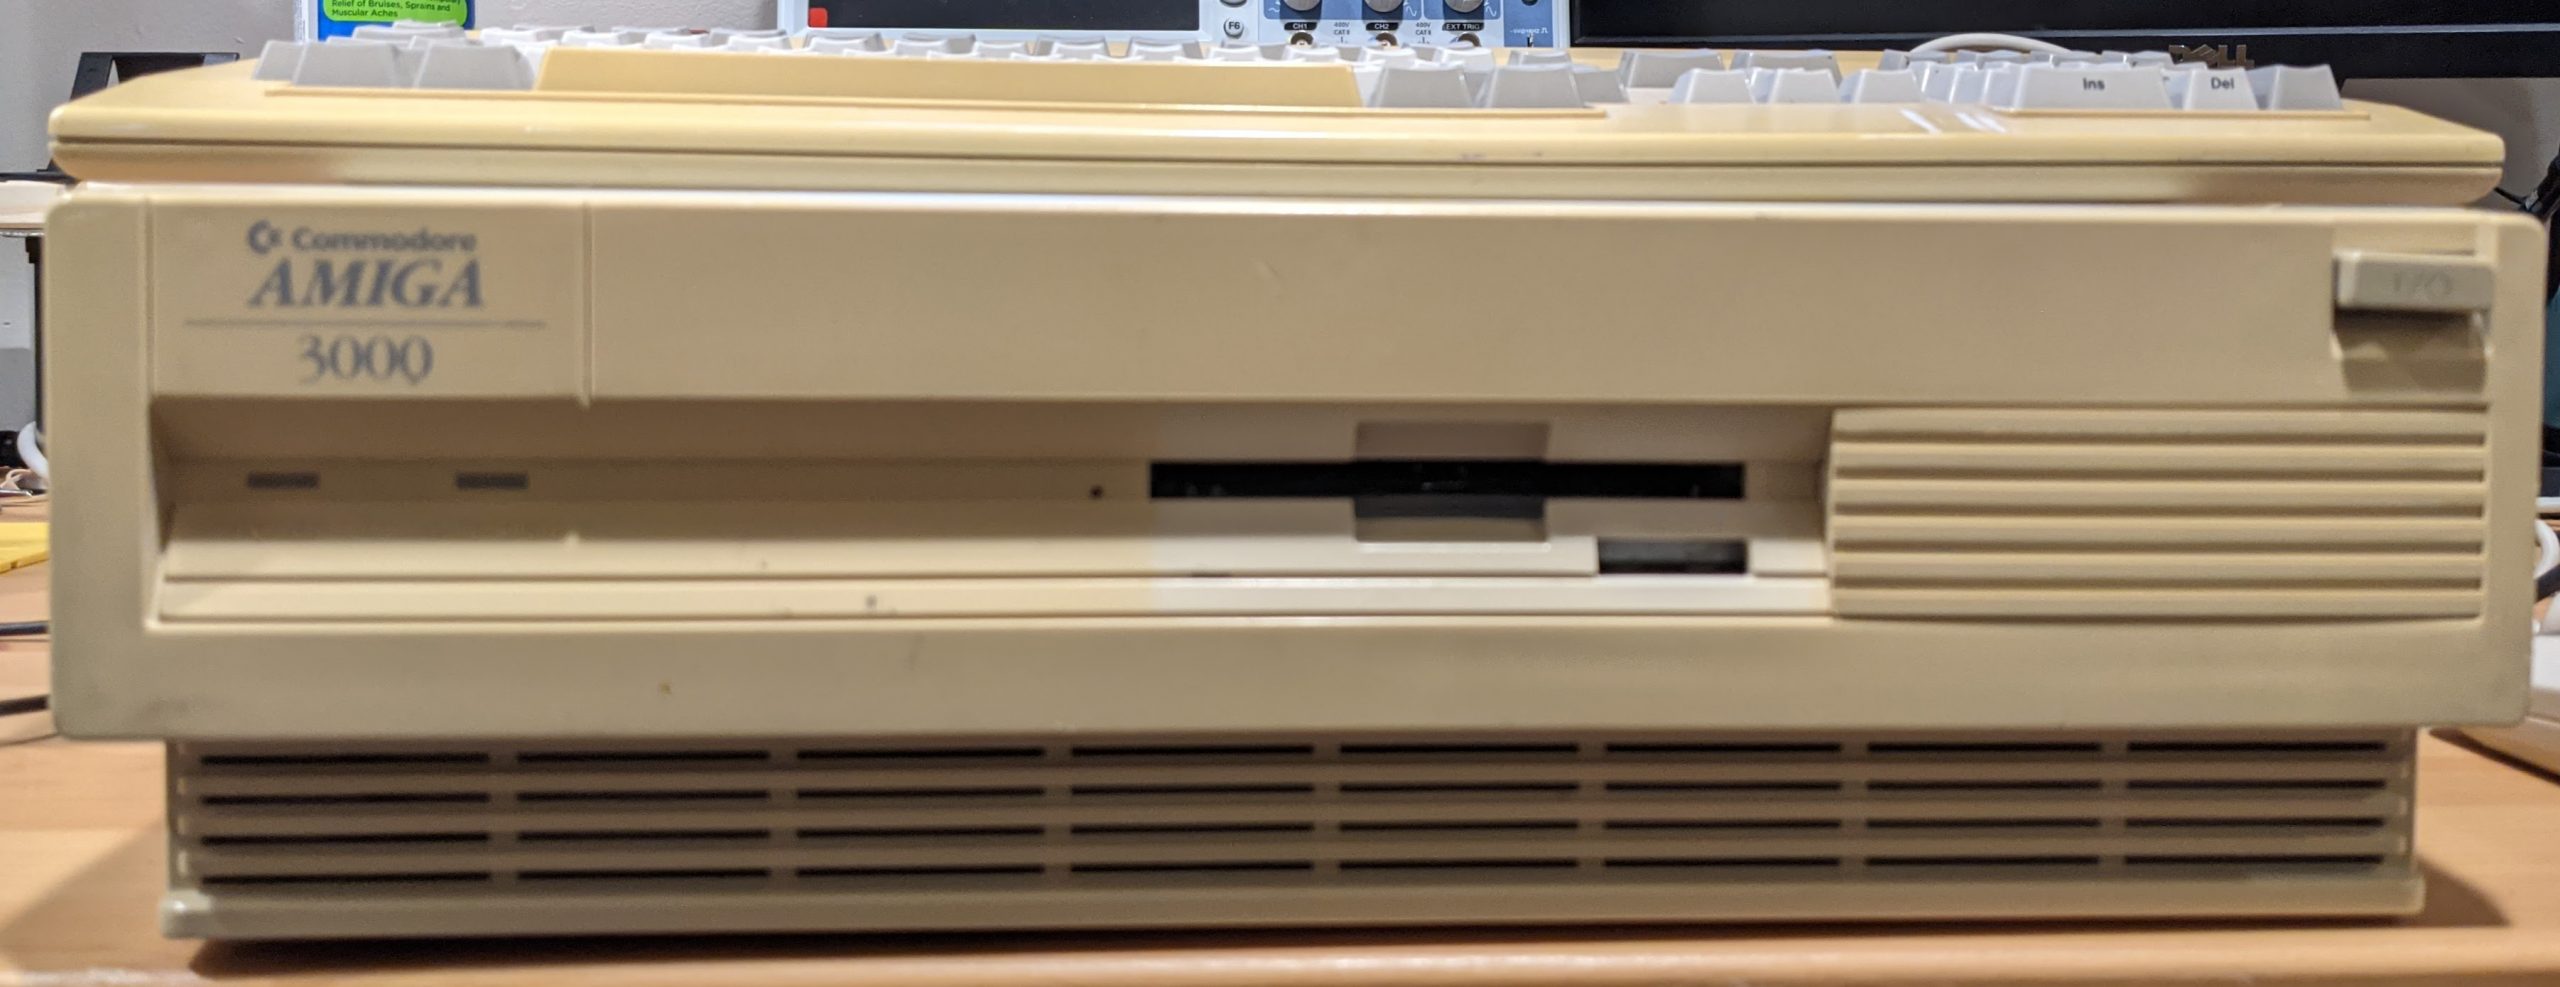
The Amiga 3000 was a high-end Amiga released in 1990, with a redesigned case, a 68030 processor, up to 16mb of RAM on board, and built-in SCSI support. They didn't sell incredibly well, and at least for me, were remarkably hard to find. Naturally, I found myself a broken one.
This one would boot immediately to nothing -- a dim power LED, and a black but active display on both the VGA and RGB ports. The battery had already been cut out, and the situation looked really good at a glance, though I saw some damage next to where the battery was.
I started out with the usual suspects. Most of the ICs moved significantly when pushing on them, so every socketed DIP and PLCC was pulled and put back into place. I then checked voltages coming in from the power supply, and each rail looked close enough, then a select few voltages taken at important ICs, all looking close enough to normal. Still no boot. I then went through jumpers and found that one of them was out of place, leading me to believe this used to have an accelerator installed.
At that point, the system booted... once, but it was glorious to see that purple screen come up. Something was still flaky, and was causing no boot or partial boots, but generally couldn't make it to Workbench. Oddly, the more the machine was on, the less likely it was to boot. I initially thought it was a bad floppy drive as the problem got worse after I connected a floppy, but the system quickly stopped making it to the purple screen with or without the drive. I burned a couple of DiagROM EPROMs and started digging in. DiagROM would report errors while testing the upper bounds of Chip RAM, and sometimes fail while testing Fast RAM. After removing the upper bank of chip and all of the fast, we could occasionally start booting again, but the system would still occasionally hang. Sure, some of the fast RAM was MT, but even putting in some combination of fast to get only 4mb, the flakiness would continue to get worse.
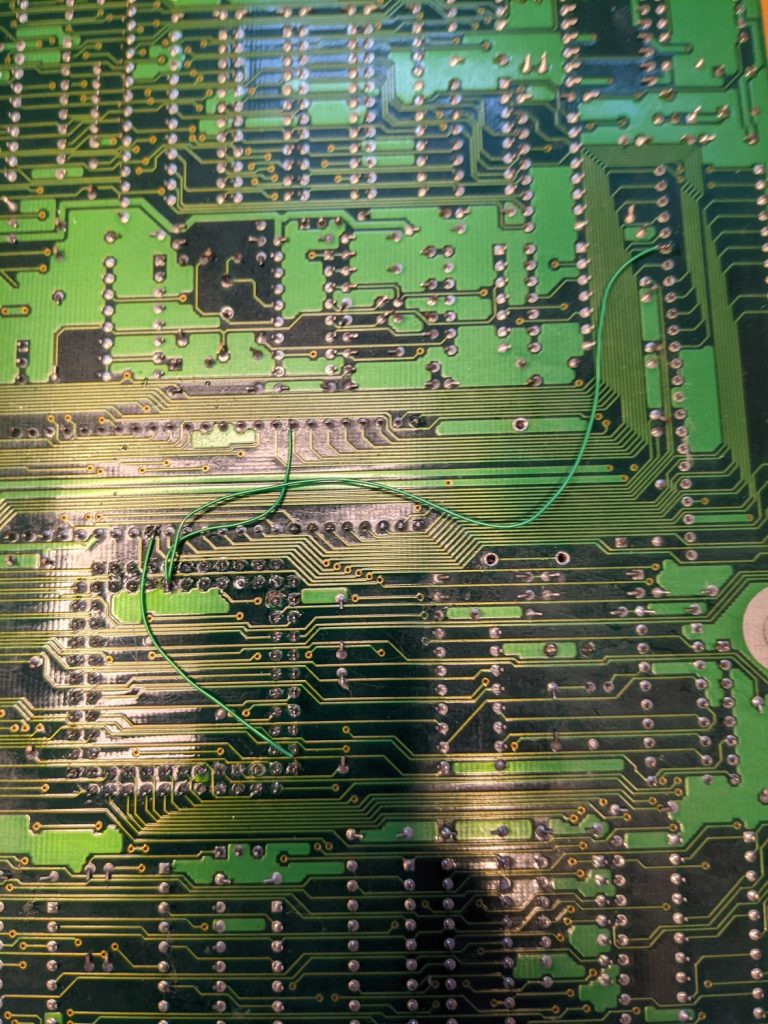
Trying to be methodical, I went for Fat Agnus first as it does memory control. Doing a continuity check on lines coming out of the chip found issues with a data line. I pulled the board out from the case and flipped it over and found that the previous battery had leaked before it was cut, with obvious signs spreading out the bottom of the board. I treated the area with vinegar to neutralize, and then alcohol to clean it. Deciding that the corrosion got to it, I elected to replace the PLCC socket for Fat Agnus. Unfortunately, I managed to destroy a via in the process (or it had already become a problem due to corrosion, but either way, womp-womp), so I not only had to replace a socket, but had to add bodge wires anyway. Given that it was in the area, I decided to replace the Denise socket as well, but that went far better.
Once that was finished, still had some extreme flakiness ranging from no boot, to only outputting the DiagROM header over serial, to making it all the way but getting address errors while doing memory tests. I used the schematics to make a spreadsheet of each of Agnus, Denise, Paula, and Gary, their pins, signals, and next hop. I then used that sheet to trace each line from each of those chips and check for continuity.
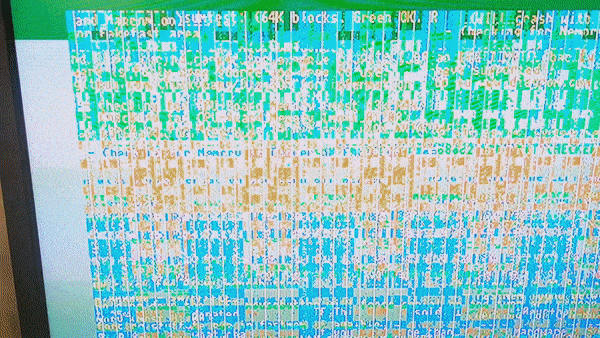
At this point, this flaky Amiga was driving me nuts. Again, every address line and data line had continuity. The Amiga would even boot into workbench on occasion, provided I didn't have the second bank of chip ram in, or any fast ram in. Generally, the first boot of the day would work fine, but over time, the flakiness would get worse. DiagROM would start testing RAM and then start throwing address error exceptions, and sometimes just not even get to the point where it would finish the initial diagnostics before failing.
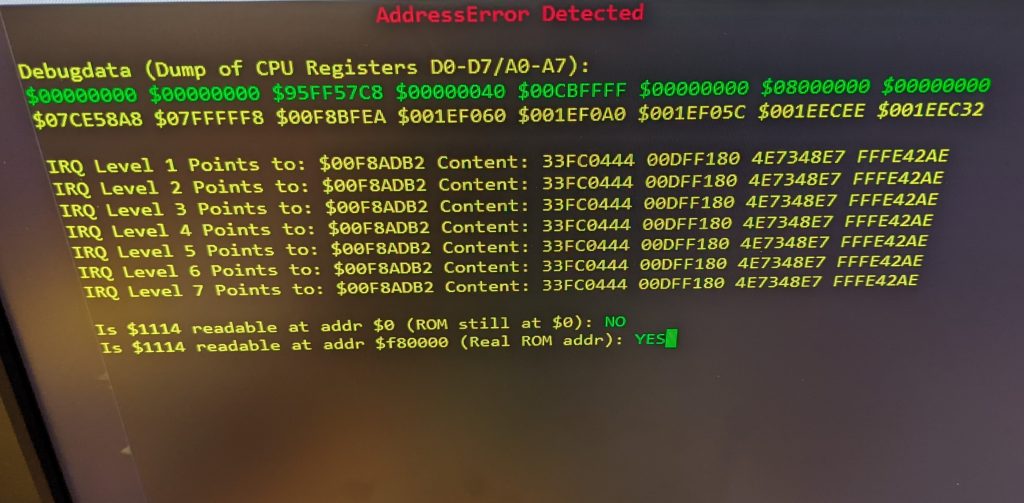
The address errors led me to believe that I still had an issue on the address lines causing an echo or something on the address bus was getting weird. I tried pulling out chips that were connected thinking they were artificially bringing down lines -- ramsey, buster, and the super dmac would all cause things to fail, but the address errors would persist. I put in an older 8372A agnus, but the symptoms were still the same, and I knew the 8372A was good. Running out of ideas, I pulled out the schematics for the ReAmiga 3000 board, converted the board layout to a png, and used a paint app to trace address lines all around the board. I noticed a few address lines went the other direction from agnus over to a 74LS147 TTL IC right next to the battery. I took out my magnifying glass and saw that there was a ton of green corrosion still remaining in the area. Treated it again, and desoldered it -- which was a huge pain due to the corrosion and the large ground plane. Replaced with a socket and a new 74LS147, and finished a chipmem test successfully. Got weird display artifacts, and then an address error while testing fastram. Due to the display artifacts, I reseated Denise again, and while boots would happen, there was still definitely some flakiness.
I was out of ideas that I could point at with evidence, and that's a lack of experience at work. Running out of options, but desperate that I was so close, I decided that since some of the capacitors were in the battery blast zone, and the machine itself is thirty years old, might as well replace all the electrolytics. I picked up a cap kit full of Rubycon capacitors from Retro Rewind, and recapped the main board and the daughterboard. After that, well.
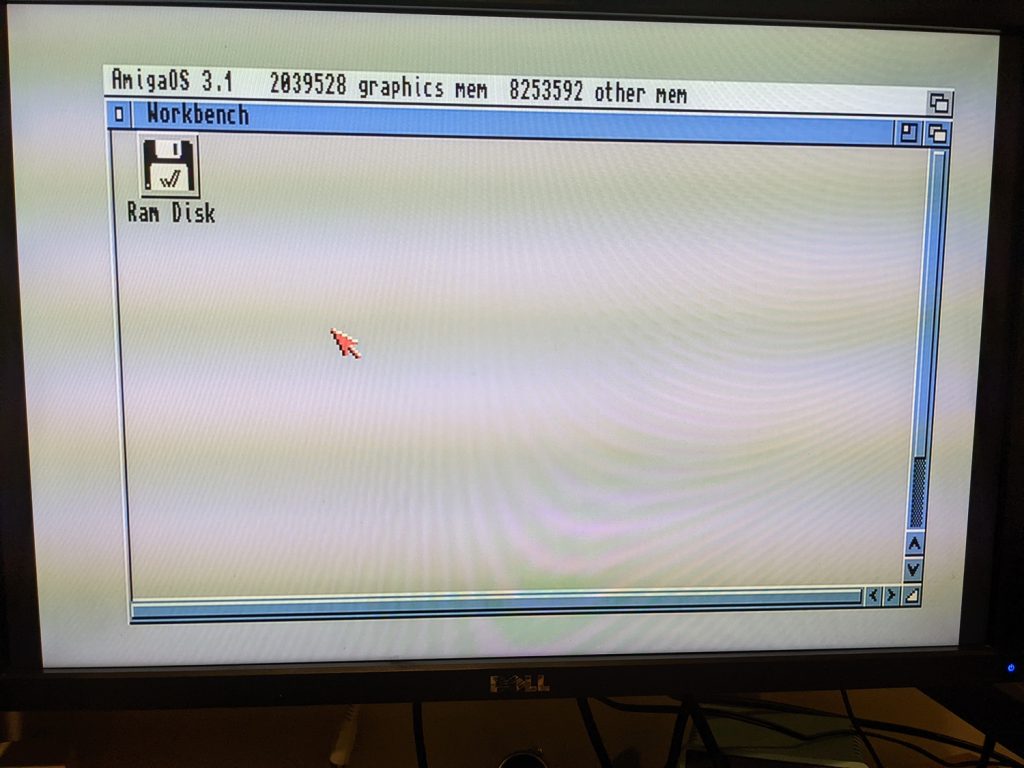
At this point, it was just adding back fast RAM and retesting with the Amiga Test Kit until I ended up with a really solid 2mb of chip, and a really solid 12mb of fast, and I'll finish that out another time. This Amiga 3000 really works, does not crash, passes all tests, I'm super pleased. Next step will be getting a SCSI drive that will partition properly, and potentially a little retrobrighting of this very yellow case.