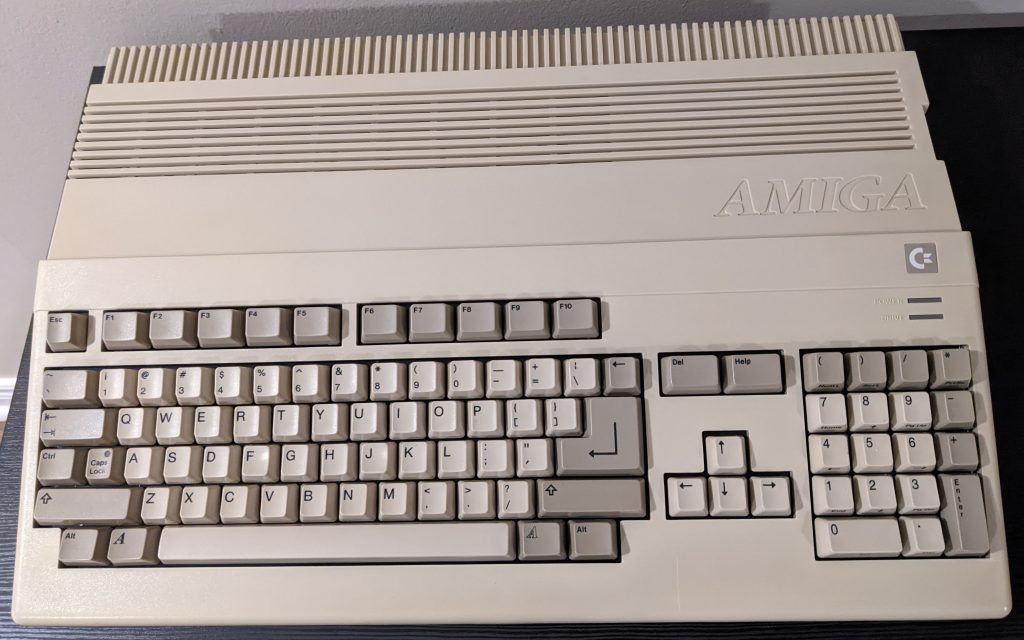
A Forgotten Amiga 500
I came across a pretty nice condition, but broken, Commodore Amiga 500. The Amiga 500 was a cost reduced, mass market successor to the Amiga 1000, wrapped in a wonderful case with a built-in keyboard, side expansion, and a floppy drive. It didn't have the most amazing specifications, but it had tons of room to grow, particularly compared to some of the competitors at the time. By default, it had an 8 MHz 68000, 512k of RAM, side and trapdoor expansion slots, and a plethora of ports in the back. It, and the successors, were wildly successful in the UK and Europe, and had decent traction in the United States and Canada.
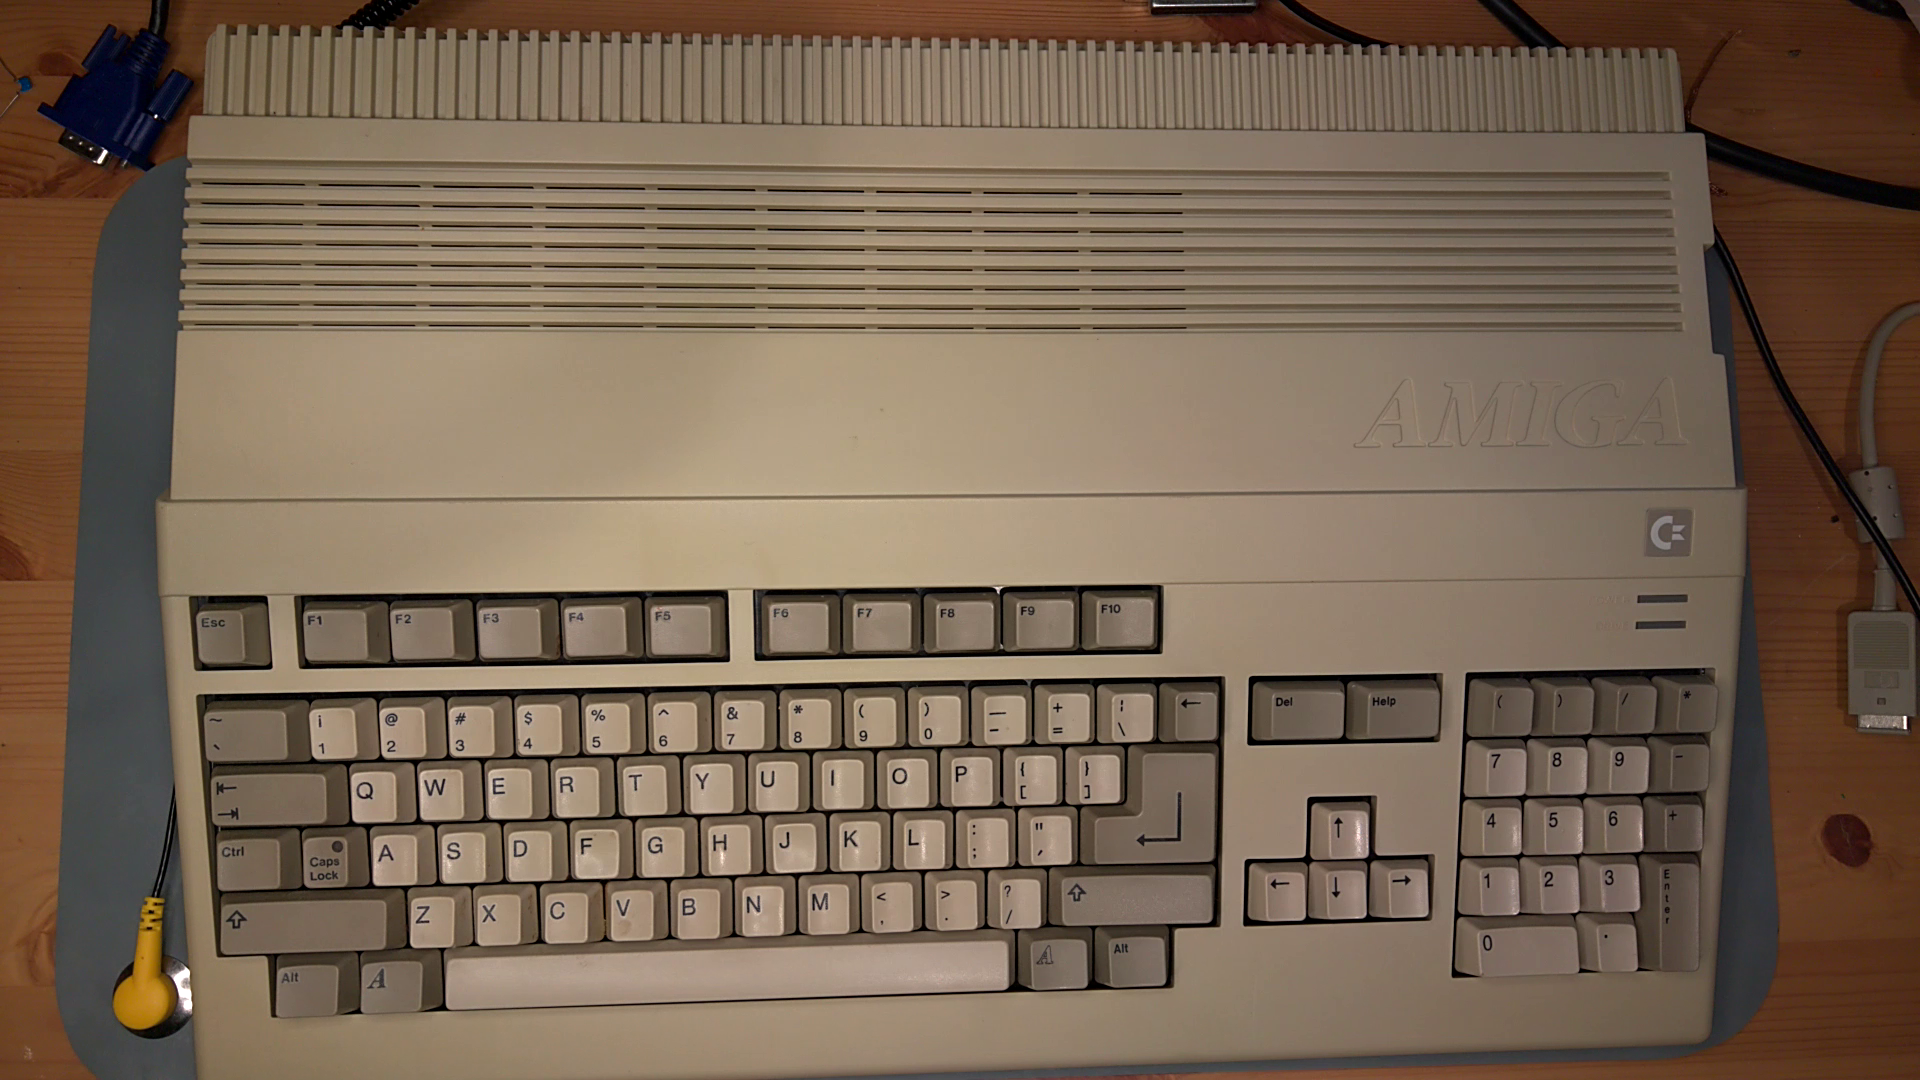
Initially, this one would boot to a black screen. The red power LED would light up, but the floppy wouldn't spin, no colours would appear on the screen, but at least the video would initialize. The power is probably good!
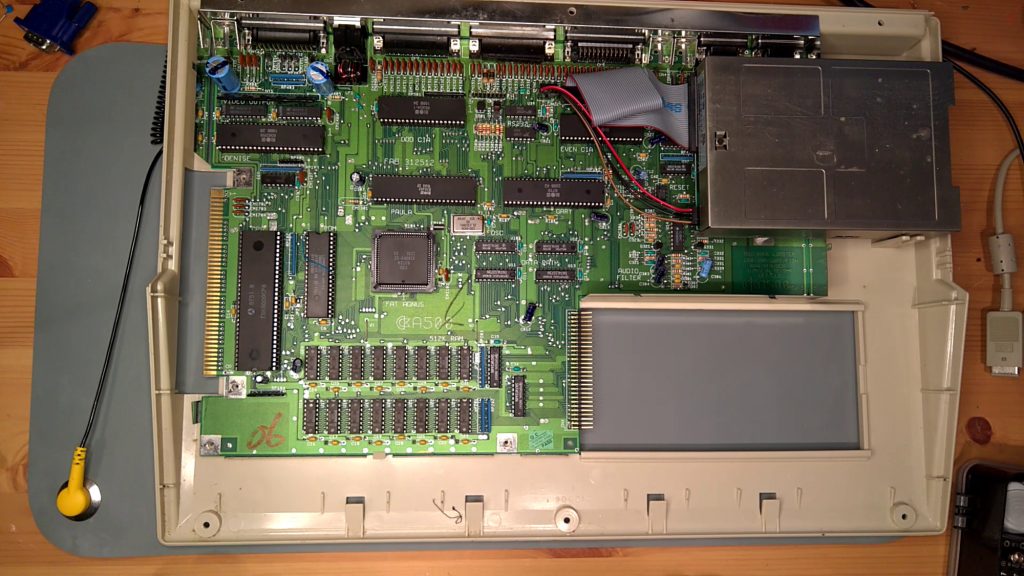
Opening up the case showed a fairly normal looking rev 5 motherboard. Two resistors by the serial port were black, likely due to someone blindly plugging something in at some point in the Amiga's lifetime. Worst case, that would affect serial, but shouldn't affect boot. It had a Commodore OEM Kickstart 2.04 ROM, with pins 1 and 31 joined together. There was quite a bit of dust, but no other obvious damage. Sitting in the trapdoor slot was a SupraRAM 512k chipmem expansion with a clock chip, which was a nice bonus.
Maybe because I've had some difficult Amigas before this, but I started out with DiagROM this time. Burned a 16-bit EPROM and popped it in with an adapter. Hooked up video and a serial cable, powered up, and... nothing. Black screen, no serial output. Crud. My guess was Agnus or CPU, as the Amiga will usually boot something with a dead chip elsewhere.
The Amiga 500 is notorious for ICs popping out, at least from the factory. Commodore would recommend that dealers drop them from a short height just to reseat ICs in case something went awry. I'm not sure if it was cheap sockets or poor assembly, but they had a history. That's where I started, and that seemed to be the culprit. Each socketed IC was incredibly stuck, so much that my chip puller was just not cutting it. I had to use a flathead screwdriver as a lever to gently rock the ICs out of their socket. Once finally out, there were no signs of corrosion, but the fact they were in so tightly led me to apply some De-oxit to the sockets before re-inserting.
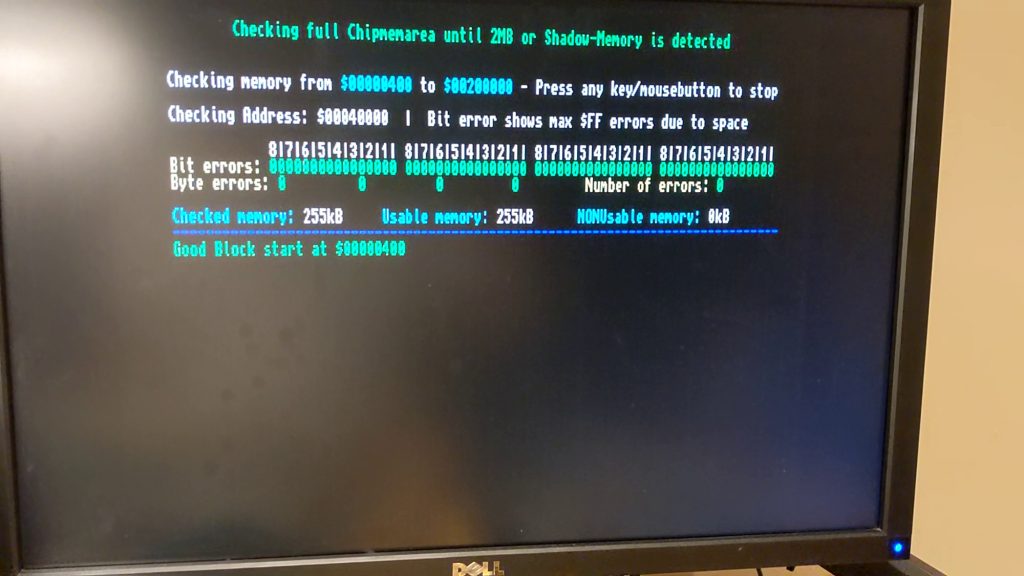
Heyyyyyy, there's the DiagROM we all know and love. From there, it was pretty smooth. RAM tested well with the original 512k, as well as the 512k expansion. The CIAs tested OK, serial was functional, Paula pushed out sound just fine. The only real issue was the Enter key did nothing, no matter how firmly it was pressed. I pulled the DiagROM out, replaced it with the original Workbench ROM, and it fired right up. I was incredibly pleased.
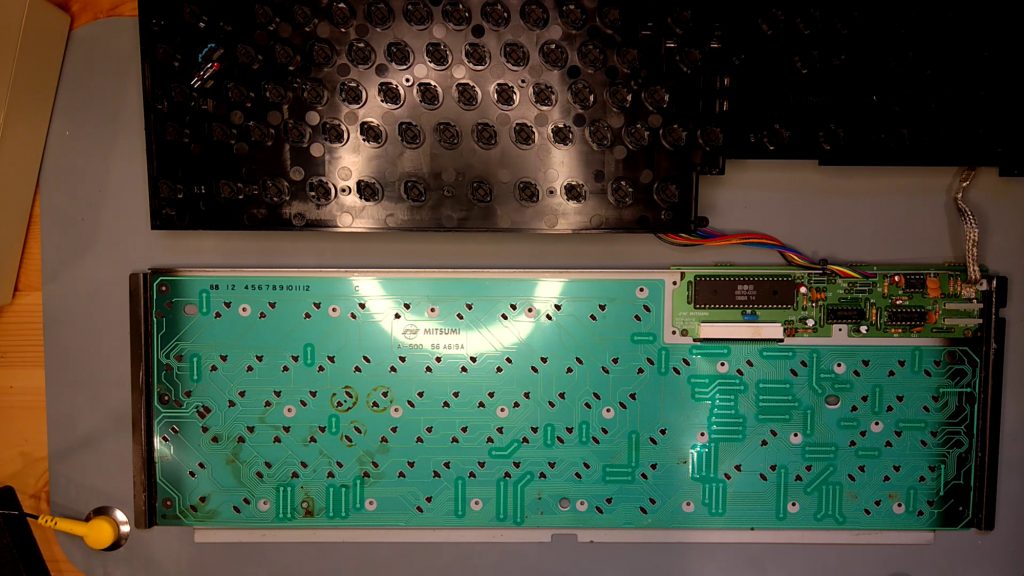
The next step was the keyboard. Many Amiga keyboards are Mitsumi manufactured, with a soft membrane handling the keyboard matrix contacts and an on-board keyboard controller to talk back to the motherboard. I disassembled the keyboard to find a thankfully intact membrane with decades-old buildup of coffee or soda. I gently cleaned the membrane with water and just a hint of soap, and it cleared up nicely. Checking the continuity of the contacts under the enter key was successful, so it was likely to need either a new layer of graphite. Thinking the damage wasn't bad, I did the paper trick instead -- rub a piece of clean copier paper across the carbon contacts on the plunger to rough it up a bit. While apart, I also removed all the keys, washed the plastic keyboard base, as well as did a full scrub of each individual key. Reassembled the keyboard, booted it up, fired up the Amiga Shell, and tested each key. Success! Functional enter key, and all of the other keys worked as well.
In the home stretch, I replaced those resistors next to the serial port. No drama there, they pulled out great, easy to replace, serial still worked. Hot dang, this is a fully functional Amiga 500.