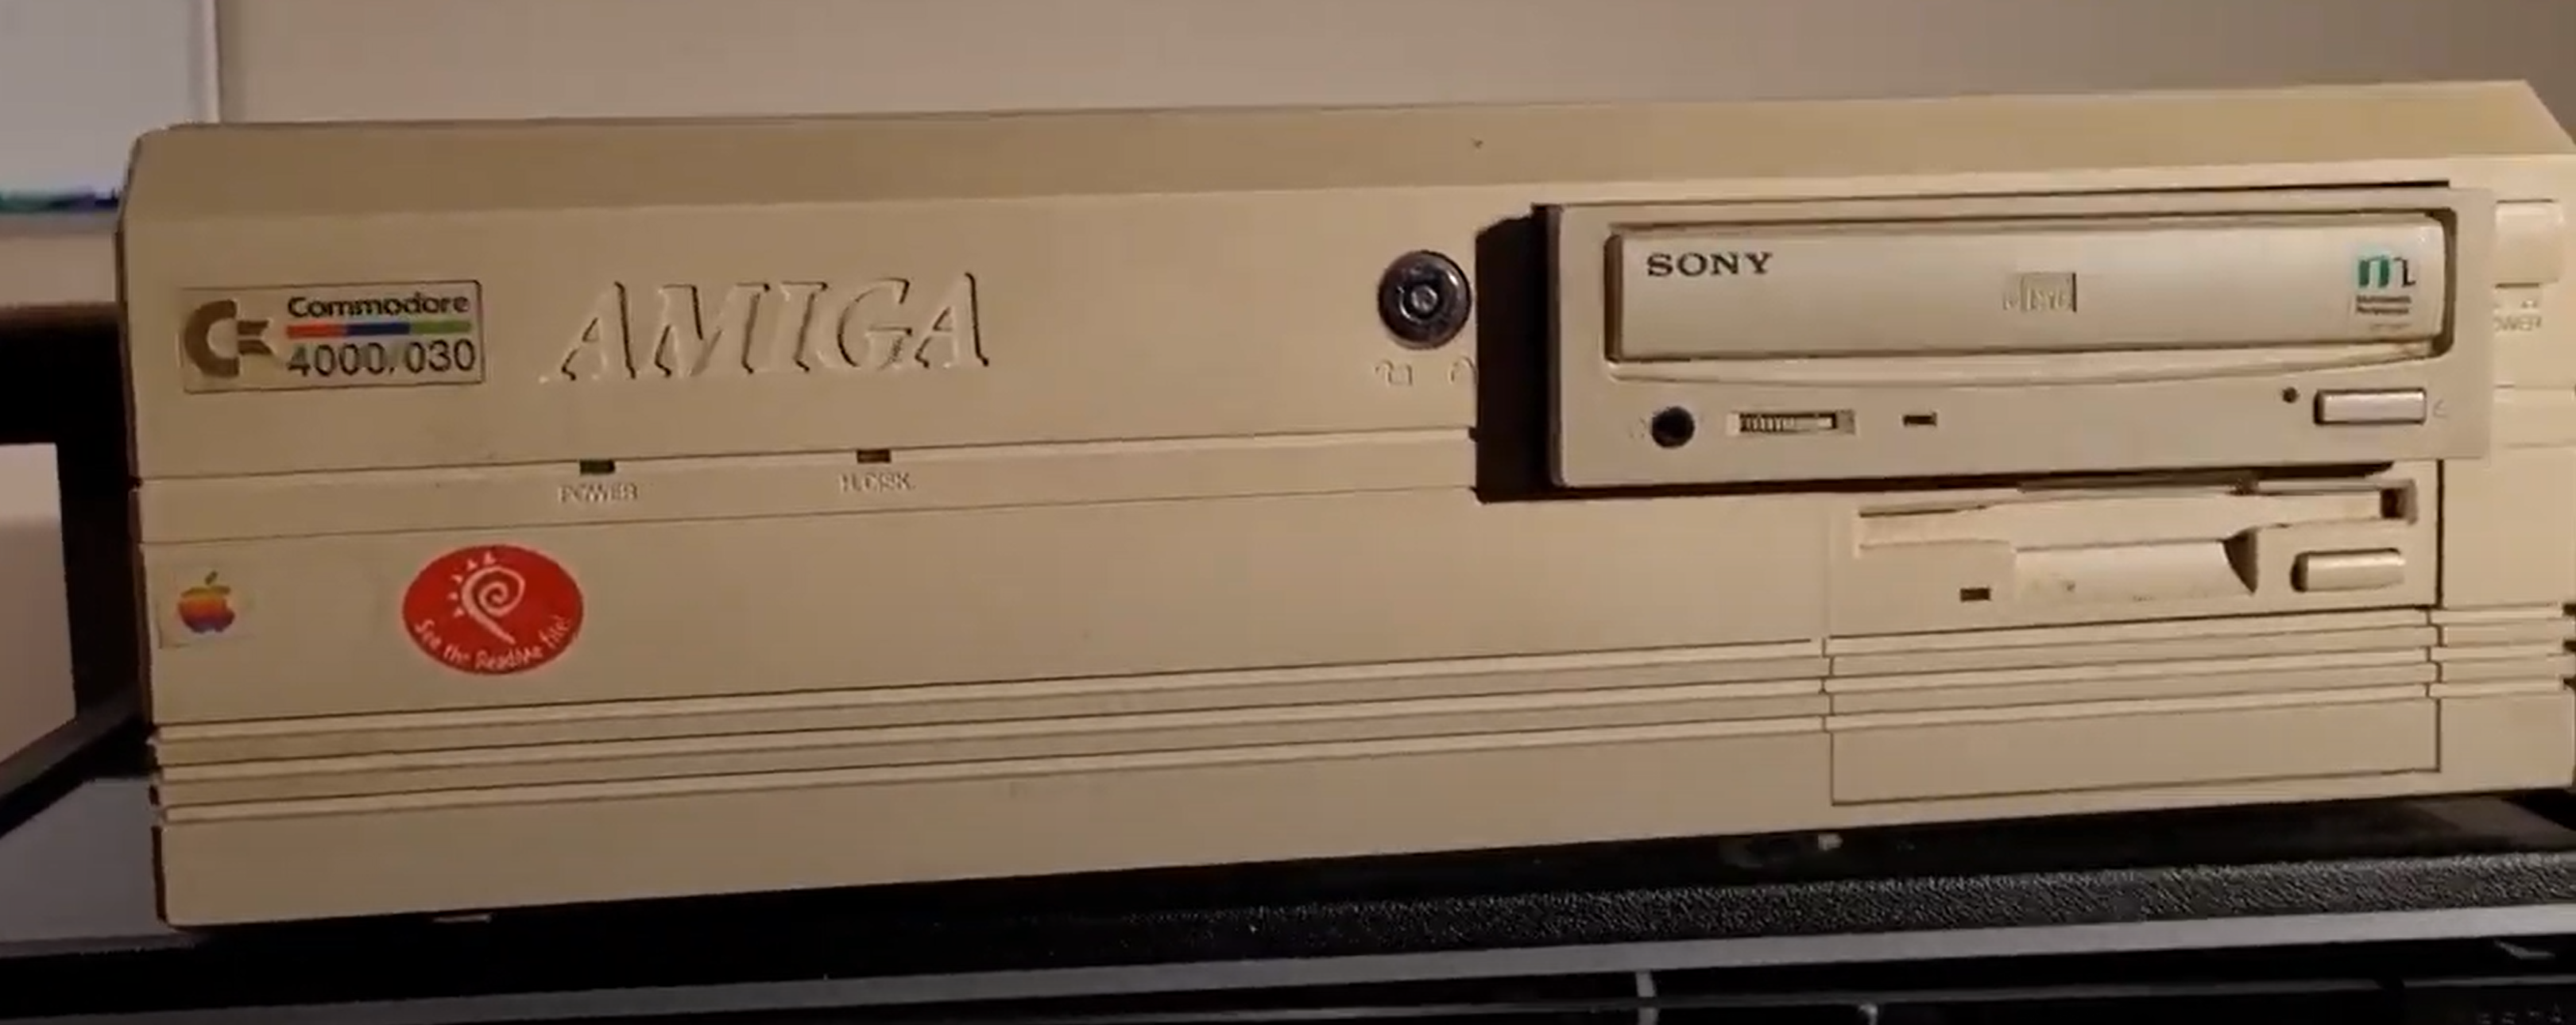
In very early 2021, really bored by the pandemic, I was on the lookout for busted Commodore and Amiga machines. Someone reached out with an Amiga 4000 they had available. They had no way to test it, all of the cables and accessories were missing, and it’s been in a garage for decades. Sounds like my kind of thing.
The Amiga 4000 was the last of the “big box” Amigas, and a pretty decent last hurrah for Commodore. Housed in a fairly generic PC-like desktop case, the Amiga 4000 had a 68030 or 68040 processor, 2mb of chip RAM, up to 16mb of fast RAM, the new AGA chipset providing enhanced graphics, and IDE instead of the SCSI of the 3000. There has long been a debate on whether the Amiga 3000 or 4000 is the superior machine, with a lot of gotchas. I think they’re both fantastic machines with a ton of expansion opportunities, but for me, the edge goes to the 4000 with AGA. Why Commodore didn’t include the scan doubler on this one eludes me.
Taking Inventory

This 4000 looked and smelled like it had been in a garage for some time, and after coming inside and warming up, you could smell the leaking capacitors. Pulling off the case revealed a motherboard awash with blue-green from a long-leaking Varta clock battery. The green was in the case, on the pins, between the slots, and even on the pins of the 2 DE-9 joystick/mouse connectors. Along with that, the 4000 suffers from the same issues as early to mid 1990s Macintosh machines, where the SMD capacitors weren’t all that great, and failed by leaking electrolyte as well. That’s two major sources of trace-eating damage, and this one was full of it. I may have bitten off more than I could chew.

On the plus side, this came with everything and then some. It already had a CD-ROM drive, the original floppy drive, a working power supply, and some additional Zorro cards to be investigated later. Once I got under the drive cage, the best surprise appeared, a Warp Engine 68040 card with 32mb of RAM on board, expandable to 128mb. If anything, that would be useful in another machine if this never came back to life.
Clean up

Job one was to get rid of everything that could be continuing to damage the board before actually trying to fix anything. First thing was snipping off the battery with side cutters, then lightly scrubbing the board with isopropyl alcohol to get off the initial battery fuzz. I desoldered and/or removed all of the capacitors, and pulled out all of the jumpers and socked chips. From there, the board was covered in paper towels soaked in vinegar to neutralize the chemicals eating at the board, followed by a scrub with soap and deionized water, followed by isopropyl alcohol. The end result didn’t look too awful. There’s obvious damage where the battery was, one of the capacitor’s pads completely lifted off the board due to the damage, there’s some corrosion on the backing plate for the DE-9 connectors, but most of the stuff is still there.
Doing a continuity check around the clock area of the board showed at least nine connections that were not meeting up. In many of these cases, the connection between a pad and a trace was missing, so at the very least, there is going to be some bodge work.
Half the effort in twice the time
As I was early in my learning to repair adventure, I was methodical but naive. Each of the electrolytic capacitors was replaced, and for the one with the missing pads, wires were attached to the via on each side and strung to the capacitor. I dutifully added bodge wires to each of the nine connections that were missing, and verified the connections with the multimeter. Everything seemed to be in order, at least from a connection perspective in the clock area.
The power supply was disassembled and cleaned out, as it was full of all the things one would find hidden in a machine after being stored for a few decades. All of the rails tested out okay with a multimeter, and I couldn’t see any obvious damage to the capacitors on the power supply board.
For fun, I attempted to boot the machine. It did power on. It showed a grey screen and nothing more. On one hand, at least we have hsync and vsync, on the other hand, we don’t even know if the CPU card works or not — the power LED sure didn’t get any brighter. Still, that’s progress. After running out of reasonable ideas for a next step, this 4000 went on a shelf for a while so I could find some successes elsewhere.
In the middle of my Amiga 3000 repair, I had the chance to test the Warp Engine on that motherboard, and it worked. I couldn’t use it permanently, for multiple reasons. The Warp Engine is the wrong size to fit around the 3000’s daughterboard, and there’s no way to fit the drive cage over it with the way the memory is positioned. At least I knew it worked. Knowing that I had a valid and working CPU, and now that I knew about DiagROM, I threw the DiagROMs in the 4000 to see what would happen. It sure didn’t give me a display, but it absolutely gave me output over serial… though e x t r e m e l y s l o w l y. Fewer than 10 characters per second. It gave me hope that this board could return to life, or at the very least, there were some good components left on here.
More effort with more thought
As I mentioned, I was methodical but naive. There are a bunch of small ICs near that battery, particularly two 74HCT166 at U975 and U976 and a 74HCT174 at U177. A bunch of those bad connections were on the U177 which meant a lot of damage was done to the board in that area.
I assumed at this point that the chip was also bad much like the connections beneath it, and took it off. Out of an abundance of caution, I also yanked U976. I assumed U975 was good since DiagROM booted at all, and there’s a pin on U975 that is required for anything to happen at all. I removed them extremely carefully, but a ton of pads on U177 came with it, which meant they had completely detached from the board anyway and were only held down by the pressure of the IC on the other pads. That sure explains the number of busted connections. U976 came off cleanly. I cleaned the whole area well, and scraped the corrosion off the remaining pads. I attached a new 74HCT166 to U975, which went shockingly well. Checking continuity showed that two of the pads off U976 did not make contact with the resistor bank below, and so two wires had to be bodged from the chip to those resistors. Then, turns out the +5v on the other side of those resistors was not making contact, and so wires had to be placed between the vias and the resistors. One via was too badly damaged, so the wire had to be wrapped around the edge of the board to the capacitor feeding the 5v on the other side of the board.
I started the machine, and DiagROM started! and died!
It did not come back.
Using the oscilliscope, I started poking around at signals, not really finding anything amiss. There’s a 74F245 at U891, and its job is to handle signaling of fast RAM. I didn’t have any fast RAM installed, as it’s sitting on the Warp Engine, so I hadn’t bothered checking it until last. As I’m probing, I touch it to the ground pin in the lower right of the chip, and it springs to life. More trace damage. Turns out the ground on that chip is important, even if you don’t have any RAM… I took the opportunity to drag some flux around all of the ICs in the area, and apply some fresh solder around each.

We have a winner. DiagROM started up just fine, detected the CPU, chip RAM, fast RAM just fine. I ran a full memory test, as well as the CIA/IRQ tests to make sure those survived okay, and things were going splendidly. Everything seemed to pass! I swapped out the ROMS with the Kickstart ROMs it came with and started it up. My bench LCD lit up, then went back to power save mode.
Back to the scope.
I couldn’t find anything. Everything seemed to be okay. For grins, I hooked the 4000 up to a Commodore 1084S wondering if somehow I was using a screen mode that was not supported. Turns out, yes. I still don’t know why that’s different between the 3000 and 4000.

That was an excellent sign. What I still had was some extreme flakiness, occasional nothings on power up, and no boot to Workbench. While finding the issue with U891 earlier, some of the probing would cause the board to work, and I was seeing similar results here. I realized that it wasn’t necessarily the act of probing causing things to work, but the logic board slightly bending when probing certain areas. Heading back to the oscilloscope and tracing around the same area, it became obvious that the +5v connections on the bottom of the set of resistors near the edge of the board were not all completing. In fact, only one resistor was consistently getting +5v, and the only reason anything was working was the voltages generated on the other side of the resistors or the occasional connection that occurred when the board was bent slightly. Not a great situation. I started bridging the connection from the input side of the resistor to the vias on the board just below providing the +5v with short unshielded wire, but it looked incredibly messy. Instead, I used slightly longer wire with the sheath still on, and created a line of curved/looped wires instead. One via didn’t have enough viable copper to create a good connection, so a wire was looped around the edge and connected directly to the capacitor on the other side. Sure, it’s still ugly, but easy to understand what’s happening.

That fix sealed the deal, and we had boot. I still hadn’t connected the real time clock latch at U177, as the chips I had ordered long ago were not the correct size. The 4000 will happily boot without it, though, you just can’t save the time. I was able to connect up a gotek and run Amiga Test Kit successfully, with everything except the clock passing tests. The memory on board the Warp Engine checked out just fine, so it was time to make it do something real. I connected a CF card and adapter to the IDE interface, pre-configured the card on WinUAE with Amiga OS and some games, and booted it up. Everything was checking out fine, I was able to play a couple of games and listen to some music, and sat a little surprised at how well it was working considering what a hack job it was.
The hack job gets worse
As mentioned, U177 came off with a bunch of pads. I made an attempt to connect some slightly thicker wire from the vias underneath where the chip was to where the pads were supposed to be, in preparation for the IC replacement. I received a batch of 74LS174 SOIC, and finally got around to putting it on the board. Carefully balancing tweezers, a pre-tinned pad 9, and the 174, I put down the first leg of the chip successfully and delicately started working on each new leg. Much of the pads on the “left” side of the chip (pins 9-16) aren’t connected to much, but those were the pads I had. That side went well, and the chip was fairly secure. I started work on the right hand side, and it all went downhill fast. The heat of the iron against the wires had a tendency to desolder them from their vias given how little was actually adhered. Instead of trying to do the same thing again, I pulled out those wires out completely, and soldered legs to the remaining pads on that side of the chip. Resigned to more bodge wiring as there were already missing pads on the left side, I went for the remainder.

In total, pins 1, 2, 3, 5, and 9 all had to be hand wired to the resistor pack above it, to a via near it, or to resistors on the other side of the board. The above blurry picture is in the middle of the process, as I was merely trying to see if it would work, but hadn’t shortened or cleaned up the mess.
The chip itself checks out just fine, the wiring is all beeping out on the multimeter, it’s ugly as sin.

Guess what, though? Clock found.
Pure Amiga goodness

I’m still left with something of a hack job. The board in this machine is so very far gone, and I have no way of knowing for sure that I’ve neutralized all of the damage. The number of visible traces around that part of the logic board is worse than I’ve seen so far, and I’m frankly surprised at how well the machine works now. Given that all of the custom chips are working great, and all of the supporting hardware is functioning normally, this could be a good candidate down the road for a A4000 replica board or an AA3000+. It’s possible that I won’t bother deciding until something else fails horribly, but as it stands, this machine is going to be staying in the permanent collection due to the amount of failure.
That said, all of the traces were covered in enamel and double checked. The case went through one more round of vinegar treatment on the places that battery corrosion had leaked onto the metal. It also had a re-clean, as I hadn’t cleaned it since early 2021. I reassembled the board back in the case, which was incredibly challenging as it had been disassembled since January of 2021, but made it. I reinstalled the Sunrize AD516 sound card that came with the machine, along with a freshly upgraded CyberVision 64 that came with another machine. Booting up the machine looked downright perfect, and I’m still in awe that this machine was so far gone and yet boots up into a modern Amiga OS without any real difficulty.
Next up is some minor work to make it a better machine long term. The CD-ROM has an obvious stripped plastic gear, you can hear it when it first spins up, though it doesn’t affect its ability to read. I will probably replace the whole device. I have RAM on order to bump the machine from 32mb to 128mb. I’d also like to get an IDE splitter to allow the CF card to mount in one of the slots at the rear of the case while still having the IDE CD-ROM work in the front.
Other than that, it’s pretty great to have an Amiga 4000 around.